
Summary: In this article, we will show you 4 methods to recover lost data from M2 chip Macs such as M2 MacBook Air or MacBook Pro. You can recover deleted, formatted or even erased data from M2 Macs or export data from inaccessible M2 Mac to a normal drive.
Quick Navigation:
- Method 1. Recover deleted or lost files from Trash bin on M2 Mac
- Method 2. Retrieve Deleted Data Using the Terminal
- Method 3. Retrieve Deleted Data on M2 Mac with Time Machine
- Method 4. Recover Lost Data on M2 Mac Using Data Recovery Software
It's never a good time when your Mac loses the data you need. Your initial reaction may be panic if you suddenly realize that a critical folder or set of files has vanished. Thankfully, there are various ways to retrieve lost data from a Mac or MacBook. This simple guide compares various methods of restoring deleted files and provides detailed instructions for each, so you can choose the one that is best suited to your needs. We will focus on data recovery on the latest M2 Macs.
Some of them use the built-in capabilities of macOS, while others draw on data backups you've already made. Using one of these strategies, you may be able to retrieve some or all of your lost data.
Method 1. Recover deleted or lost files from Trash bin on M2 Mac
On a M2 Mac, deleted files can be found in the Trash Bin folder, also known simply as the Trash. A user's trash can serves as a temporary storage space for data that has been deleted from their computer. Bringing something back from the Recycle Bin, follow these steps.
- Double-click the bin's icon if you want to access your trashed items.
- Find the missing data that you need to restore.
- To recover deleted files from the Trash, right-click on them and pick Put Back from the context menu.
Method 2. Retrieve Deleted Data Using the Terminal
There are usually multiple methods for doing the same thing on a M2 Mac, and you're free to choose whichever one you prefer. Using Terminal to retrieve files from Trash may appeal to you if you have always admired Macs for their Unix heritage and powerful command-line interface.
- Double-click the Terminal icon in the Dock, to access Terminal or go to /Applications/Utilities. Type cd into the input box.
- To access the Trash folder, press the Trash key.
- Input ls -al / into the Terminal.
- You can check out what's in your Trash by selecting that option.
- Substitute the name of the lost file with mv filename../ to copy it to your home directory.
- If you or your Mac empties the Trash, Terminal commands won't help you get it back because they're just an alternative to the graphical user interface.
Method 3. Retrieve Deleted Data on M2 Mac with Time Machine
Now, let's pretend you'd rather not use the recovery tool. If that's the case, you should be astute enough to enable Time Machine, a feature of macOS that automatically creates backups whenever an external storage device is connected.
That's when you can get your files back without resorting to a third-party macOS data recovery program. Although a time machine is included, you will still need to perform regular manual backups.
- Connect an external storage device and power on the computer as Step 1. All Time Machine backups on your Mac can be easily transferred using the migration assistant window.
- Your second choice is to transfer the data process from the time machine to the external device by opening the Applications folder in the Finder, clicking on the utility menu item, and selecting Migration Assistant.
- After choosing the folder or file, you wish to back up, proceed to Step 2. Multiple file selection is permitted.
- You'll want to press the "continue" button in the third step.
- Fourth, once the transfer is complete, you must restart the computer. The retrieved data can be found in your account's My Files section.
Method 4. Recover Lost Data on M2 Mac Using Data Recovery Software
How to get back erased files on your M2 Chip MacBook Air or MacBook Pro? TogetherShare Data Recovery for Mac is the best data recovery software available. Because it works with every popular file type and storage format, it can recover any data from any disaster. Here's by using TogetherShare Data Recovery for Mac to get back lost data on your M2 Mac:
Step 1. Download and install TogetherShare Data Recovery for Mac on your M2 Mac. Then open it from Launchpad.
TogetherShare Data Recovery for Mac
Powerful & easy-to-use data recovery software
Step 2. Select the hard drive where you delete or lose your files.

Step 3. Click on Scan button to deeply scan the hard drive to find deleted or lost files.
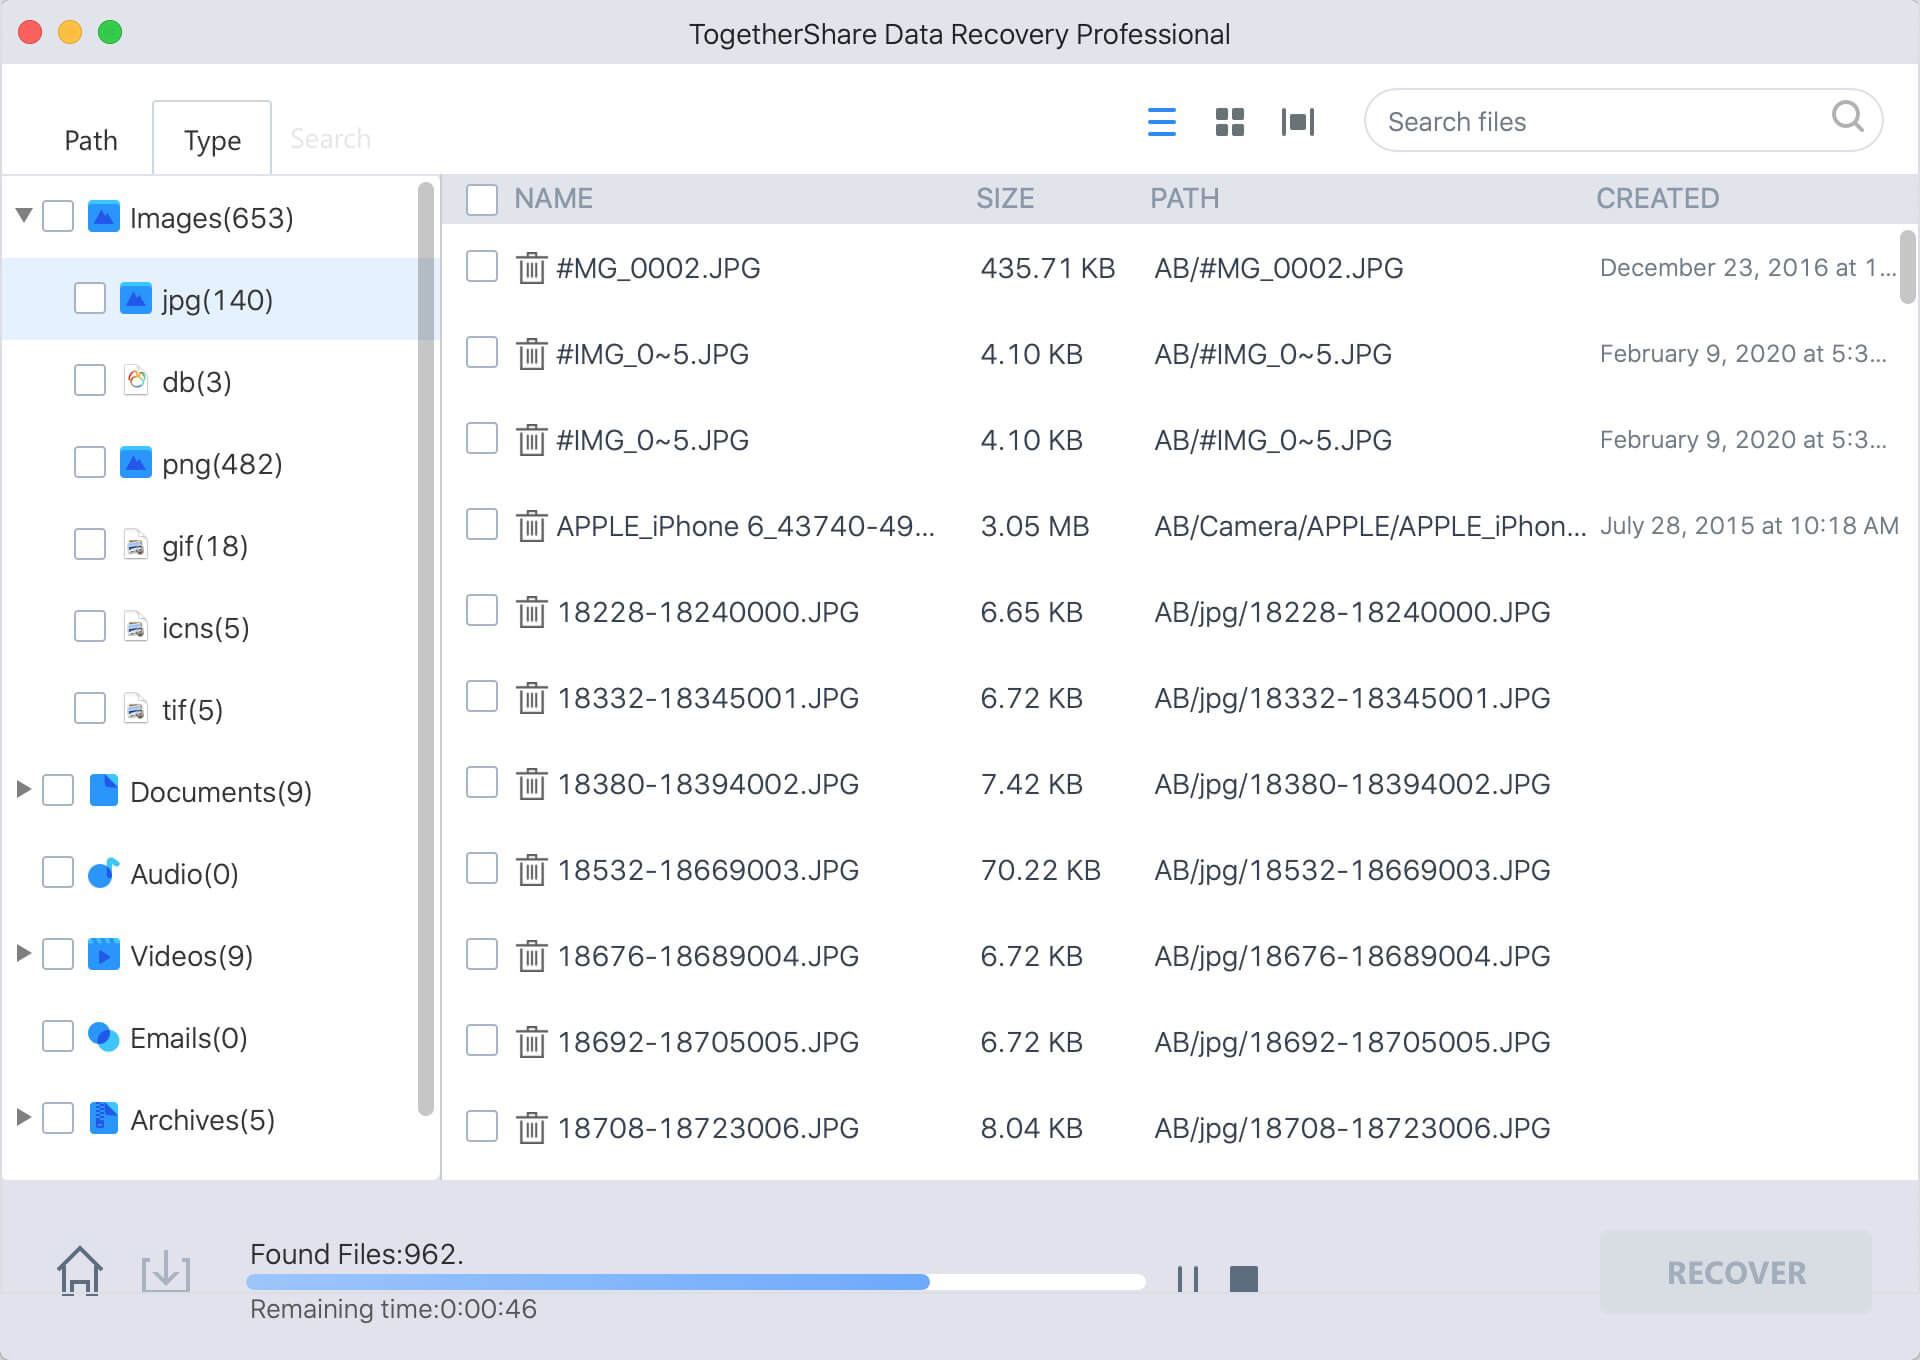
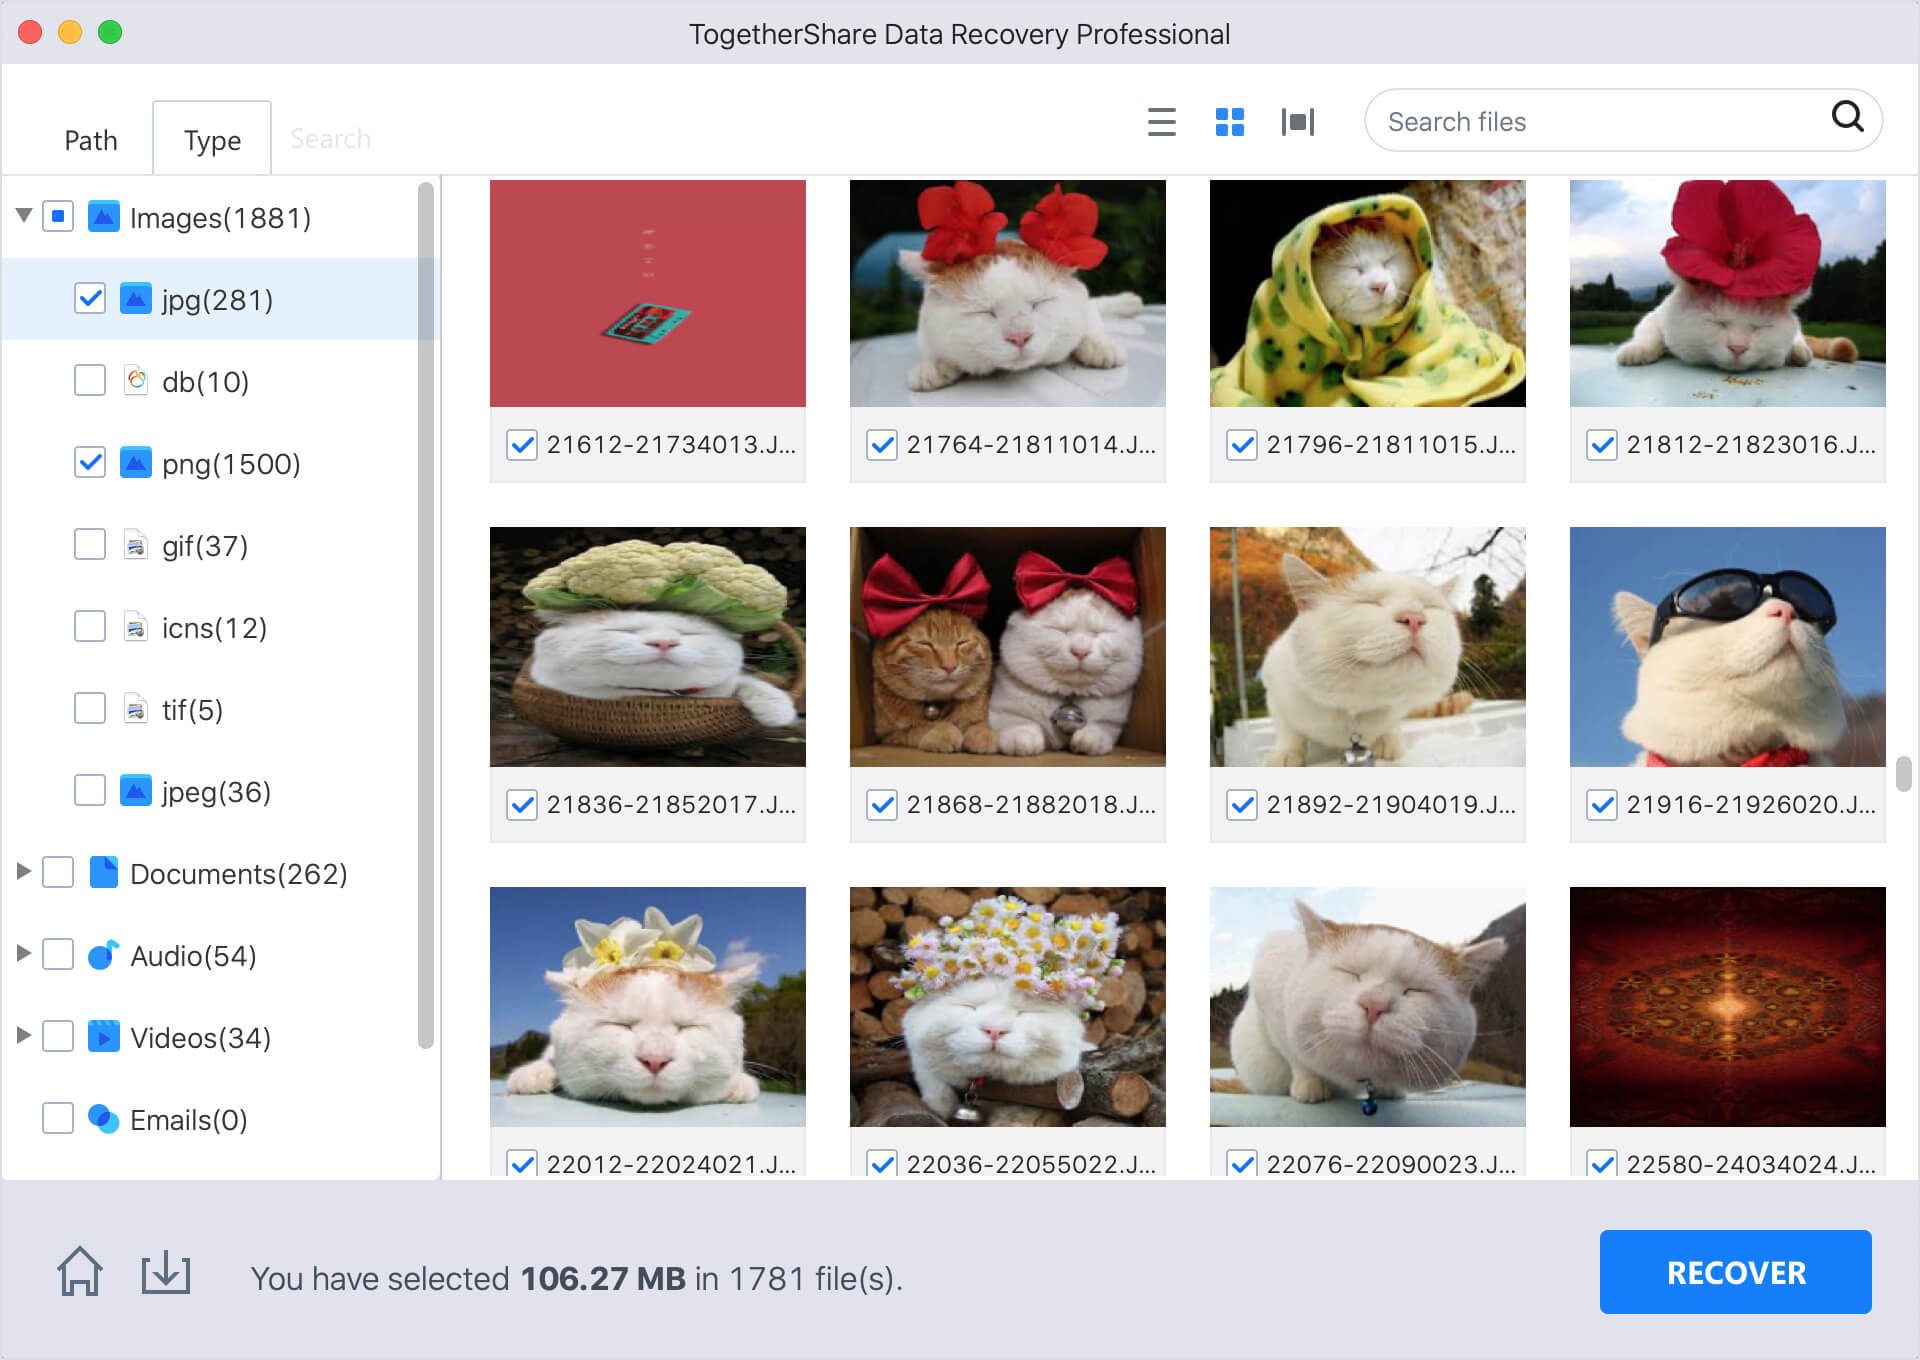
Step 4. Once the scan is completed, you can preview all recoverable files. Just select the wanted files and save them.
Conclusion:
If you have accidentally deleted files on your M2 Mac, I hope this article will be helpful. It's possible to take one of five different tacks. The first strategy is useful if you haven't been backing up your M2 Mac. If you've lost or deleted files on any version of Mac OS, you can get them back by following the instructions. Using other methods, you can recover files from the Trash before you empty it. Time Machine allows you to restore data from a backup on your M2 Mac.