“Hi, I deleted my documents on my Mac Studio, the macOS is macOS Monterey. I checked the trash bin, all files were gone. Is there any way to recover the deleted files?” - Neil
We’ve all accidentally deleted necessary documents and rushed to Google “how to recover emptied trash bin files.” Do you know how to recover lost files after upgrading to macOS Monterey? Do you know how to unformat a hard drive on macOS Monterey? Don’t worry, here are top 4 methods to help you recover deleted, formatted or lost data after upgrading to macOS Monterey.
Method 1. Check the trash bin to recover deleted files.
When you delete a file or folder on your Mac, the file and folder may be moved to the trash bin. So, just check the trash bin.
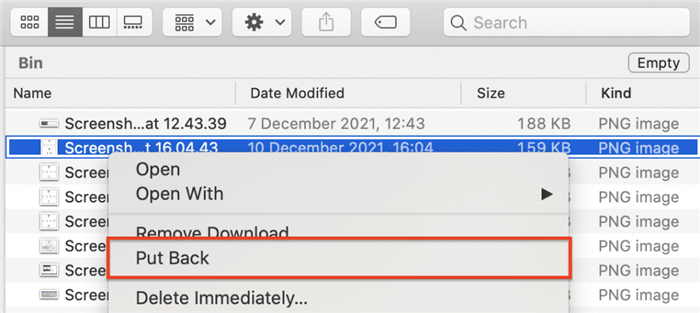
1. Open the Trash folder from the Dock.
2. Look around the contents of the Trash or use the search box if you recognize the file’s precise name to find it faster.
3. Right-click on the file or files you would like to restore > choose the restore option.
4. Check if the restored items found their way to the initial location.
Method 2. Recover lost documents using Time Machine backup.
Time machine is one of the foremost helpful inbuilt macOS tools for restoring trashed or deleted files. Time machine backs up your information every hour to an external disc drive or an SSD. It helps you to restore data from any time in the past. That’s why on every occasion you prepare your Mac for the following macOS update — confine your mind to secure your mac using this method.
If you have got backed up your macOS 12 system, follow these steps to restore lost information once the macOS is updated:
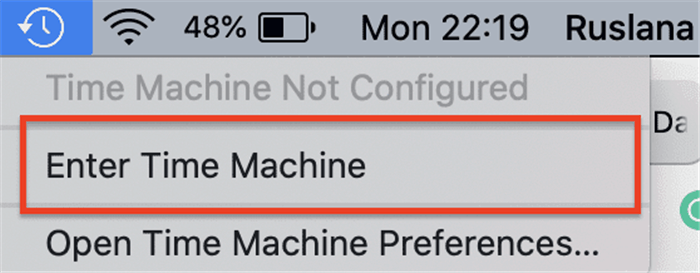
1. Connect the drive you’ve used for the machine backup drive.
2. Open the folder wherever the files are located.
3. Open machine > choose Enter Time Machine.
4. Search out the info backup for the lost items using arrows to move the timeline.
5. Hit the Restore button.
6. Try opening the recovered file to check if the data recovered well.
If you haven’t done the machine before upgrading to macOS 12 — it’s time to start exploiting this tool to secure your files from a potential data loss in the future.
Method 3. Use iCloud Backup to restore some files.
iCloud is an easy and quick way to bring the missing files back. All you wish is access to the web and your Apple ID. If you often use iCloud as a backup method, we are able to do this recovery method. Here’s how.
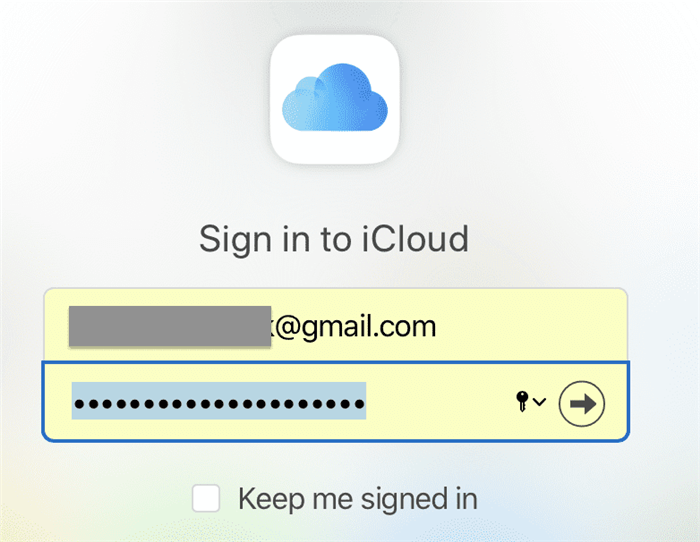
1. Access https://www.icloud.com/ from browsers.
2. Login together with your Apple ID.
3. Go to Account Settings (placed properly under your avatar at the welcome screen).
4. Scroll right all the way down to the lowest of the page.
5. Select Restore Files positioned below Advanced with inside the left backside corner.
6. Let's test it; it takes a couple of minute.
7. Tick the documents from the listing and press restore.
8. Wait for the documents to be restored and click on done.
9. Look for the recovered items by the use of Spotlight or via way of means of checking their original location.

Did you recognize that it’s possible to recover not only lost records but additionally contacts or maybe calendars with iCloud? If you’ve used iCloud as a backup method — there is no way to start! Here’s a way to install iCloud for your Mac:
1. Open System Preferences.
2. Go to the Apple ID tab.
3. Enter your Apple ID login.
4. Select iCloud with inside the sidebar.
5. Tick the items you need to restore.
Method 4. Recover lost data with macOS Monterey recovery software.
macOS Monterey data recovery software is the best tool to recover lost data from macOS Monterey disk or external disks. TogetherShare Data Recovery for Mac is a powerful yet easy-to-use data recovery software which is fully compatible with macOS Monterey. Download it here:
TogetherShare Data Recovery for Mac
Powerful & easy-to-use data recovery software
TogetherShare Data Recovery for Mac supports to recover all file formats including images, videos, documents, emails, music, archives, etc. It can recover lost data from HDD, SSD, memory card, digital camera, USB flash drive, etc. Follow the steps below to recover deleted, formatted or lost data on macOS Monterey:
Step 1. Select the hard drive where you delete/lost your files.
Open TogetherShare Data Recovery for Mac from Launchpad, then select the hard drive where you delete or lose your files to start data recovery.

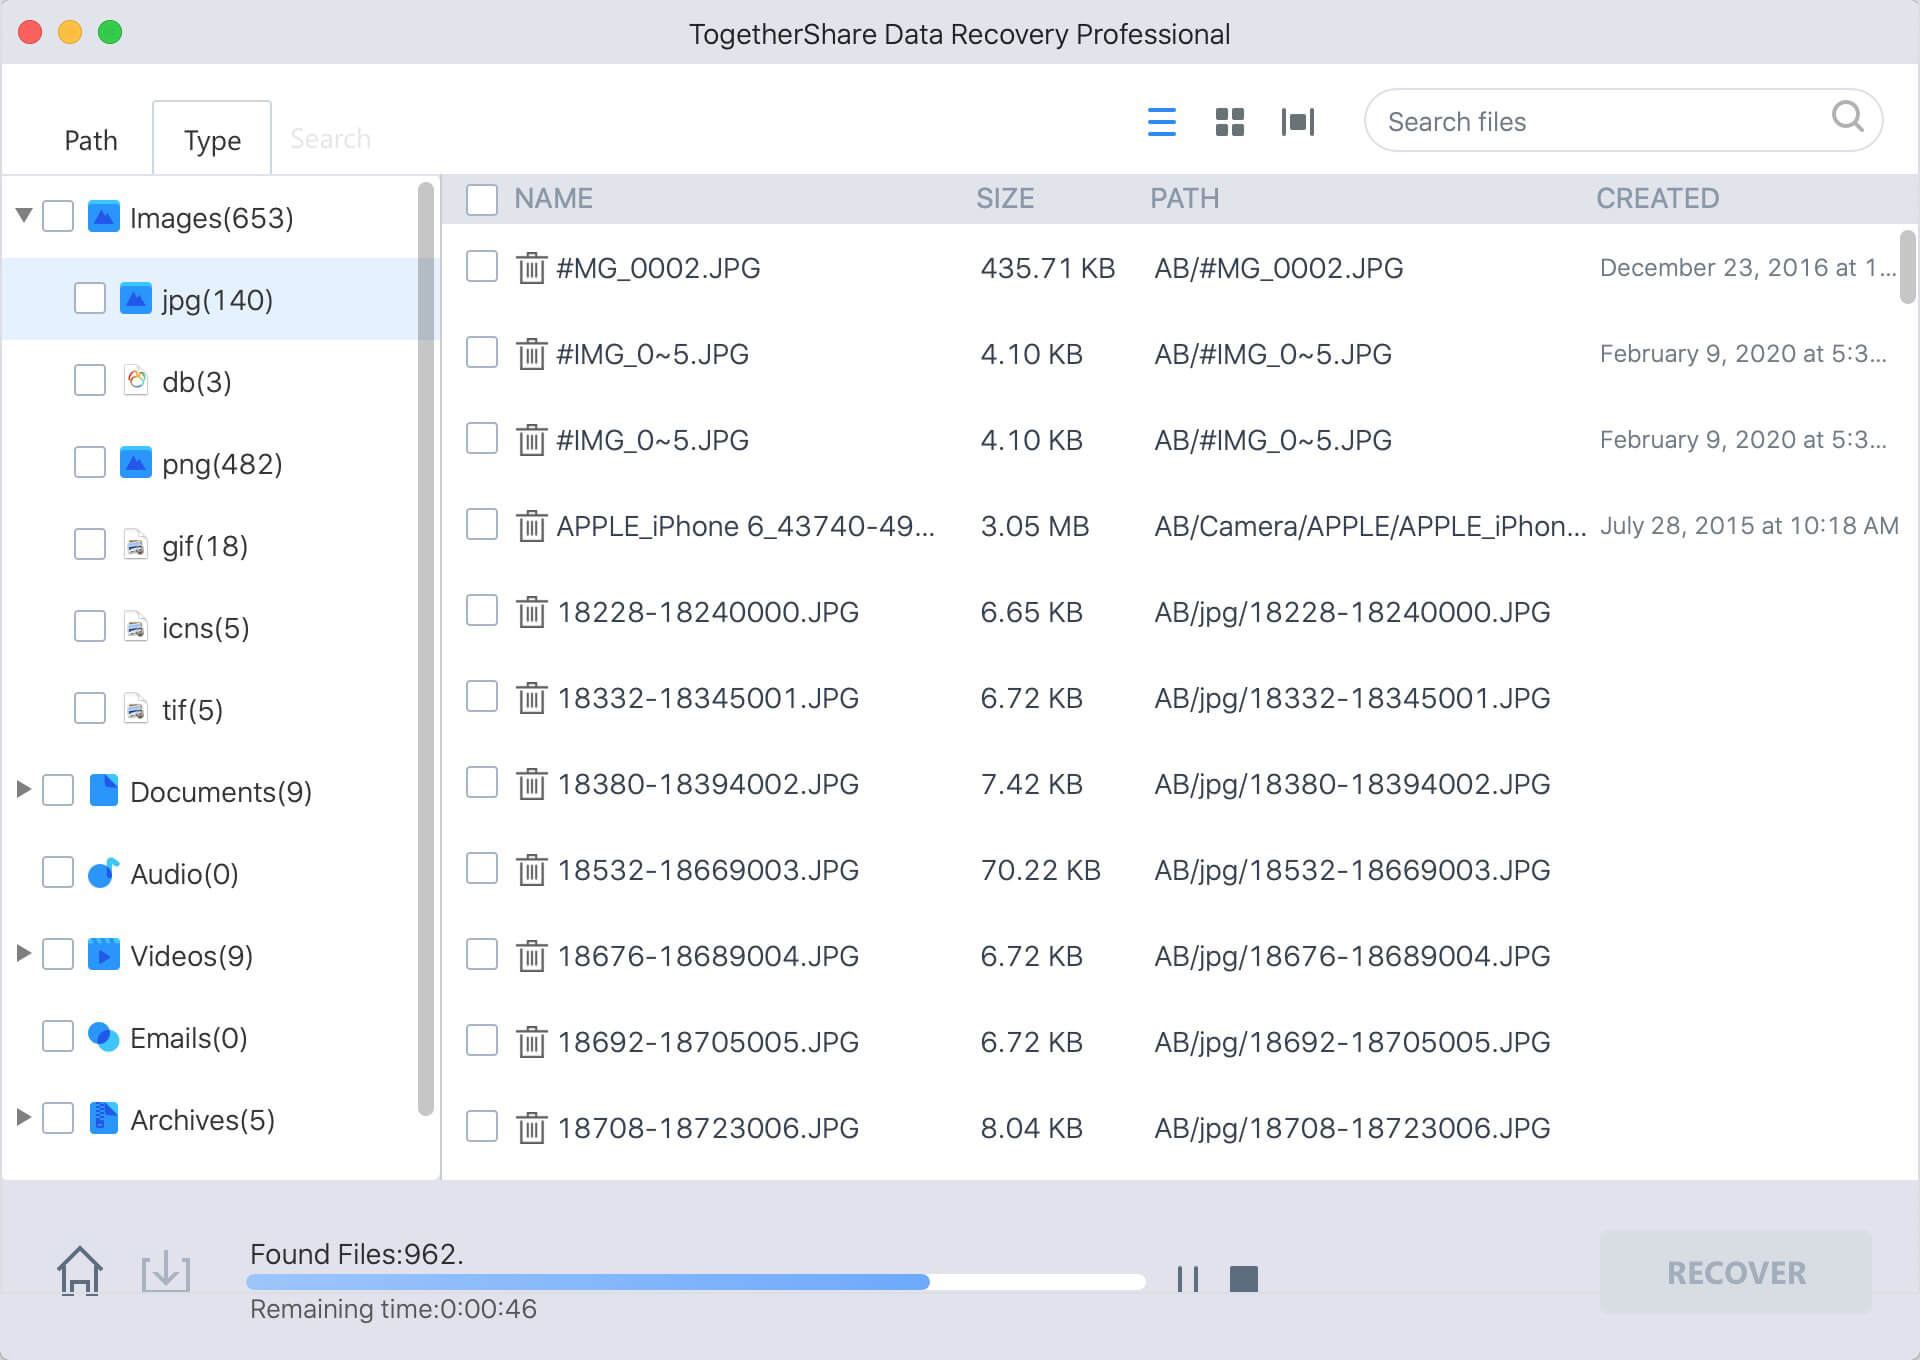
Step 2. Scan the hard drive to find lost files.
Click on Scan button, TogetherShare Data Recovery for Mac will deeply scan the hard drive and find deleted, formatted and deeply hidden files.
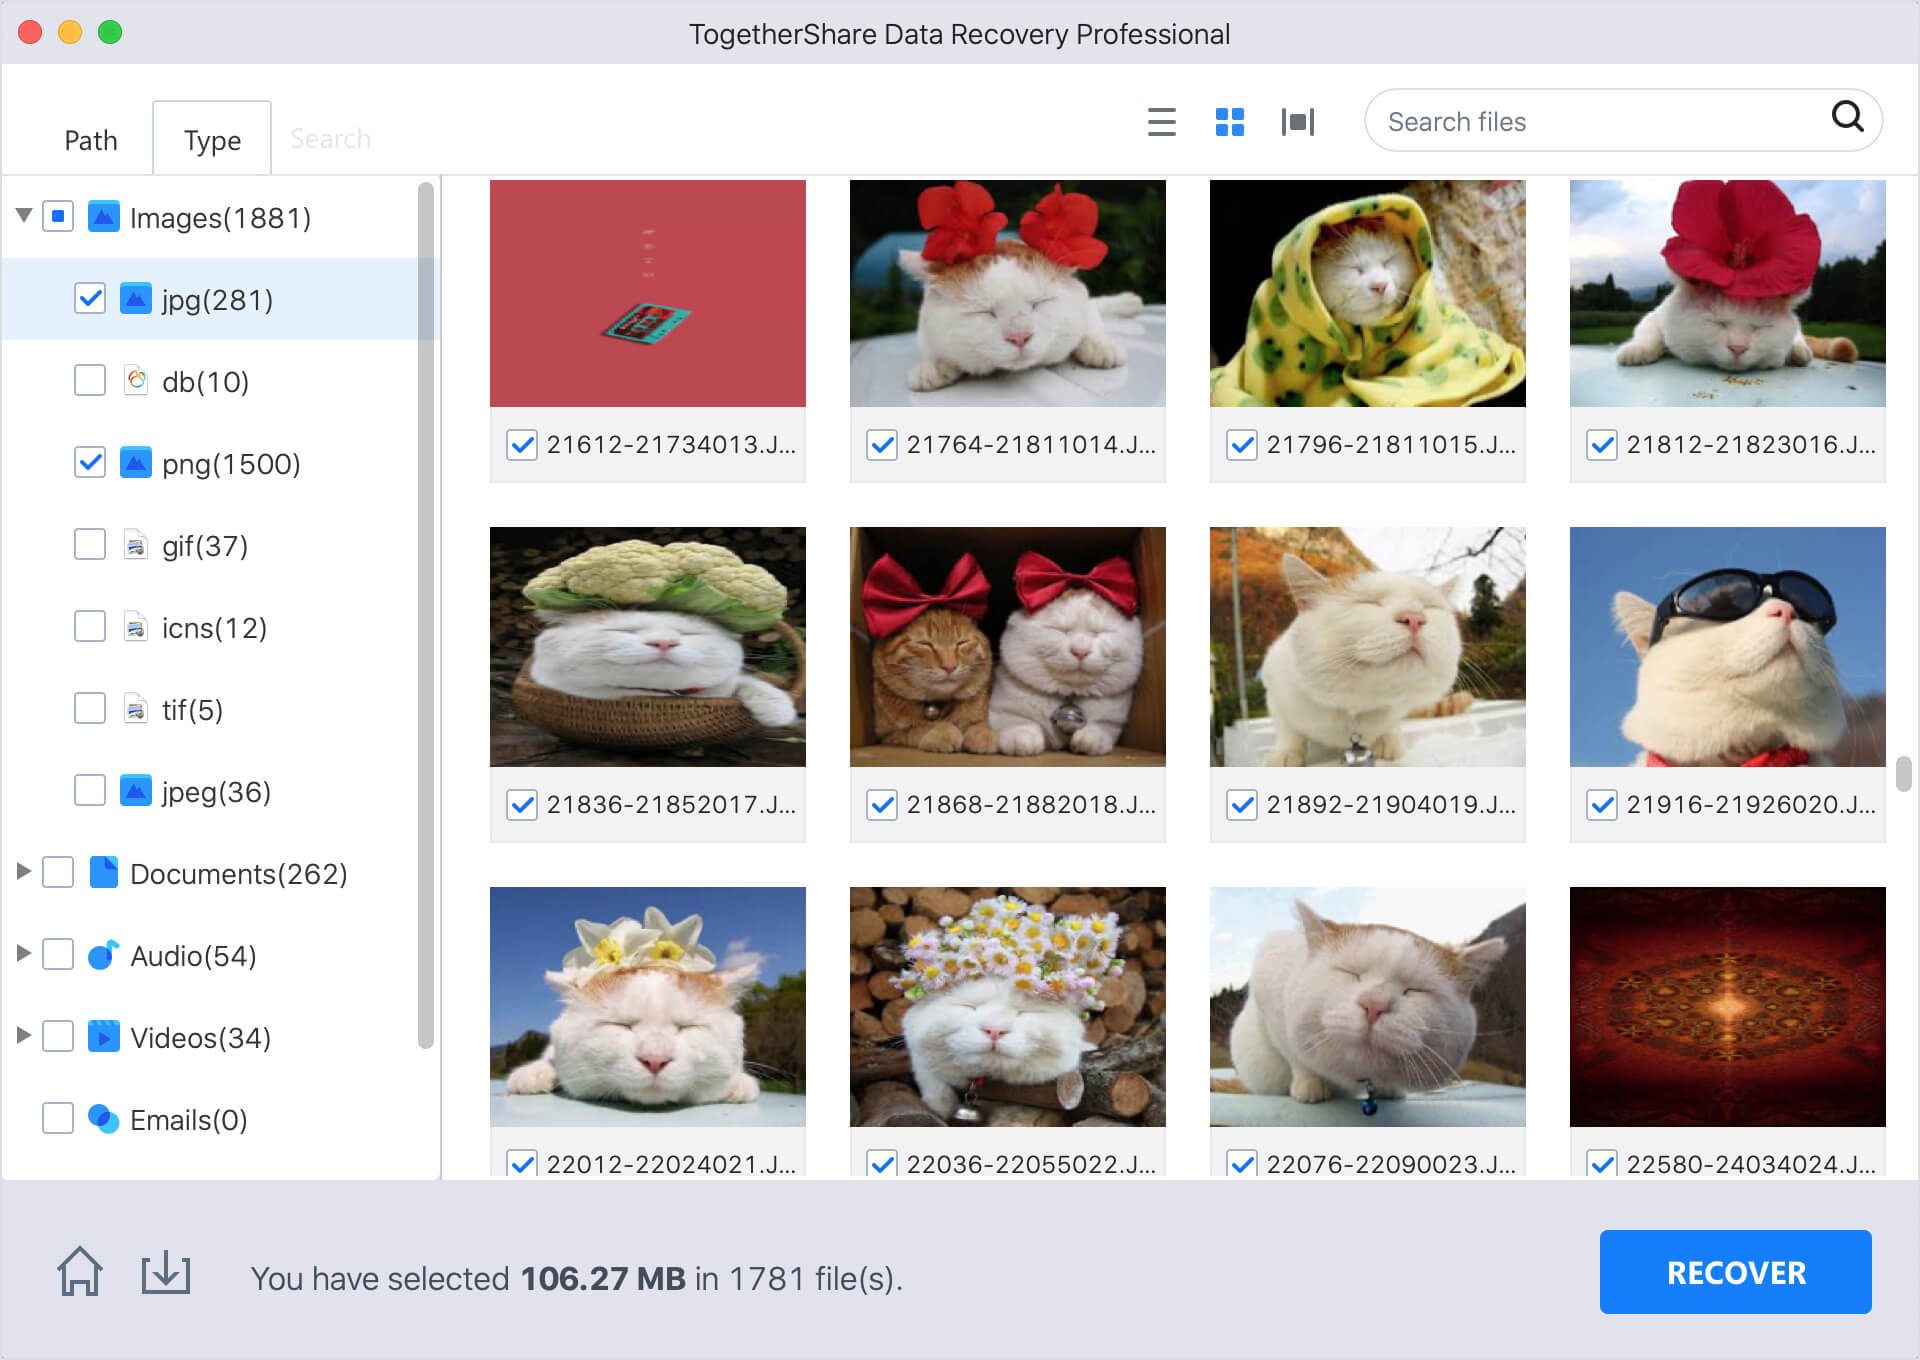
Step 3. Preview and recover lost files.
Once the scan is completed, you can preview all recoverable files. Then select the wanted files and save them.
TogetherShare Data Recovery for Mac is one of the best data recovery software for macOS Monterey. It can help you quickly restore lost files within three steps.
TogetherShare Data Recovery for Mac
Powerful & easy-to-use data recovery software