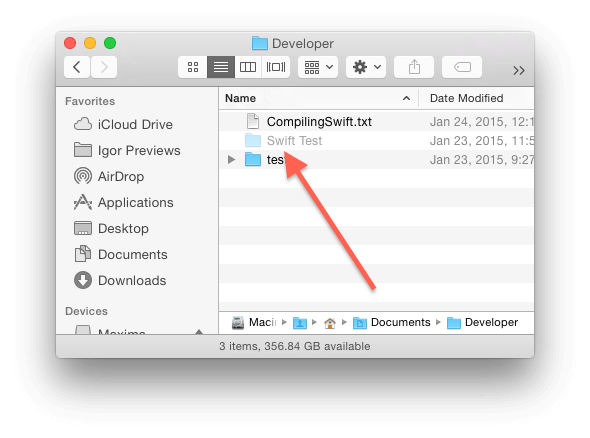
Normally files/folders will be displayed in regular back font in finder on Mac. Typically, you can access or use the files without any problems. However, you may find some files/folders are grayed out in macOS.You are not able to open, move or even delete the files/folders. If the issue happen on your Mac, don’t worry. This page will just tell you the solutions to fix grayed out folders or files on Mac.
Fix the issue with Terminal
Grayed out folders and files are often generated if copying files from one location to another, especially copying them from or to network drives. It’s the date when Macintosh was first introduced. In the same time, the date information of the files/folders will show up as ‘24 January 1984’.
In most cases, it’s easy to fix the issue that files or folders are grayed out in macOS. You can try to change the date information of the files/folders directly to solve the problem. Here is the steps you can do to fix it.
Step 1. Click Launchpad, find the Terminal app there and launch it.
Step 2. Type the following command and click return.
SetFile -d 30/06/2020 /Path/to/grayed-out-folder-file/
Note: Please ensure to change /Path/to/grayed-out-folder-file/ to your own path. You can also set the time to any other time as you want.
Recover the data with data recovery software
If the issue is not fixed with the above method and the files/folders are still grayed out and cannot be accessed, then we suggest you try to recover the files directly with data recovery software. With data recovery software, you can try to recover and extract the files to another drive to check if the files/folders will be normal.
To recover lost data in such a case, we suggest you choose a professional and reliable application. For Mac users, we suggest you use download and have a try with TogetherShare Data Recovery for Mac.
TogetherShare Data Recovery for Mac
Powerful & easy-to-use data recovery software
This software is simple to use and you can operate it to recover lost data in a few clicks. You can do as follows to get back the files/folders step by step.
Step 1. Choose the drive where the files/folders are grayed out.
After downloading and installing the software to your Mac, please run it from Launchpad. It will detect and list all the connected drive. Please choose the correct one where the files/folders are grayed out.

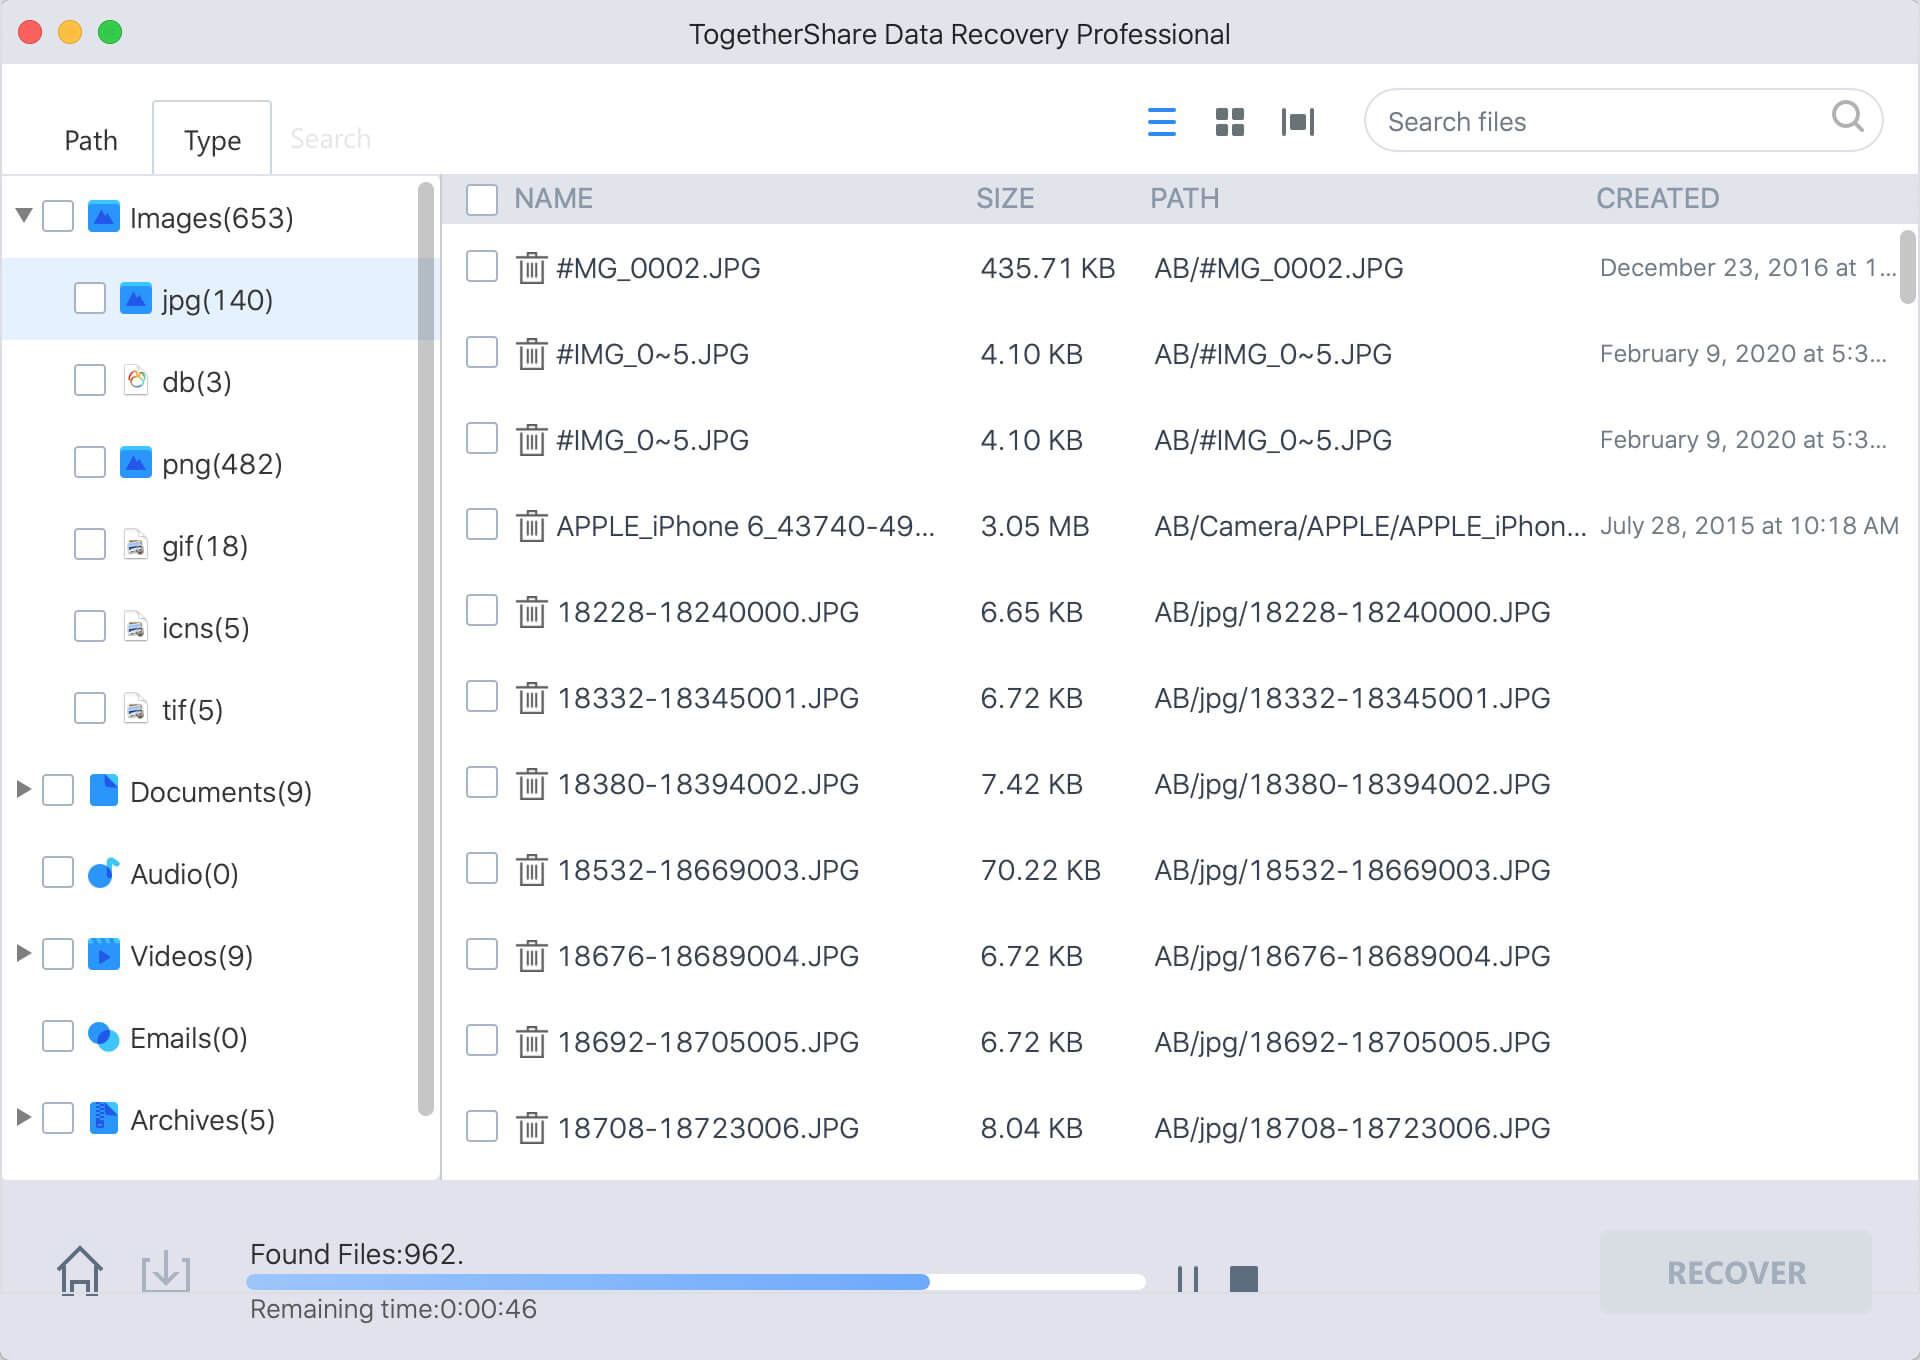
Step 2. Scan the drive to recover the files/folder.
Please just click the Scan button, it will start to scan the drive directly to find the files/folders that are grayed out.
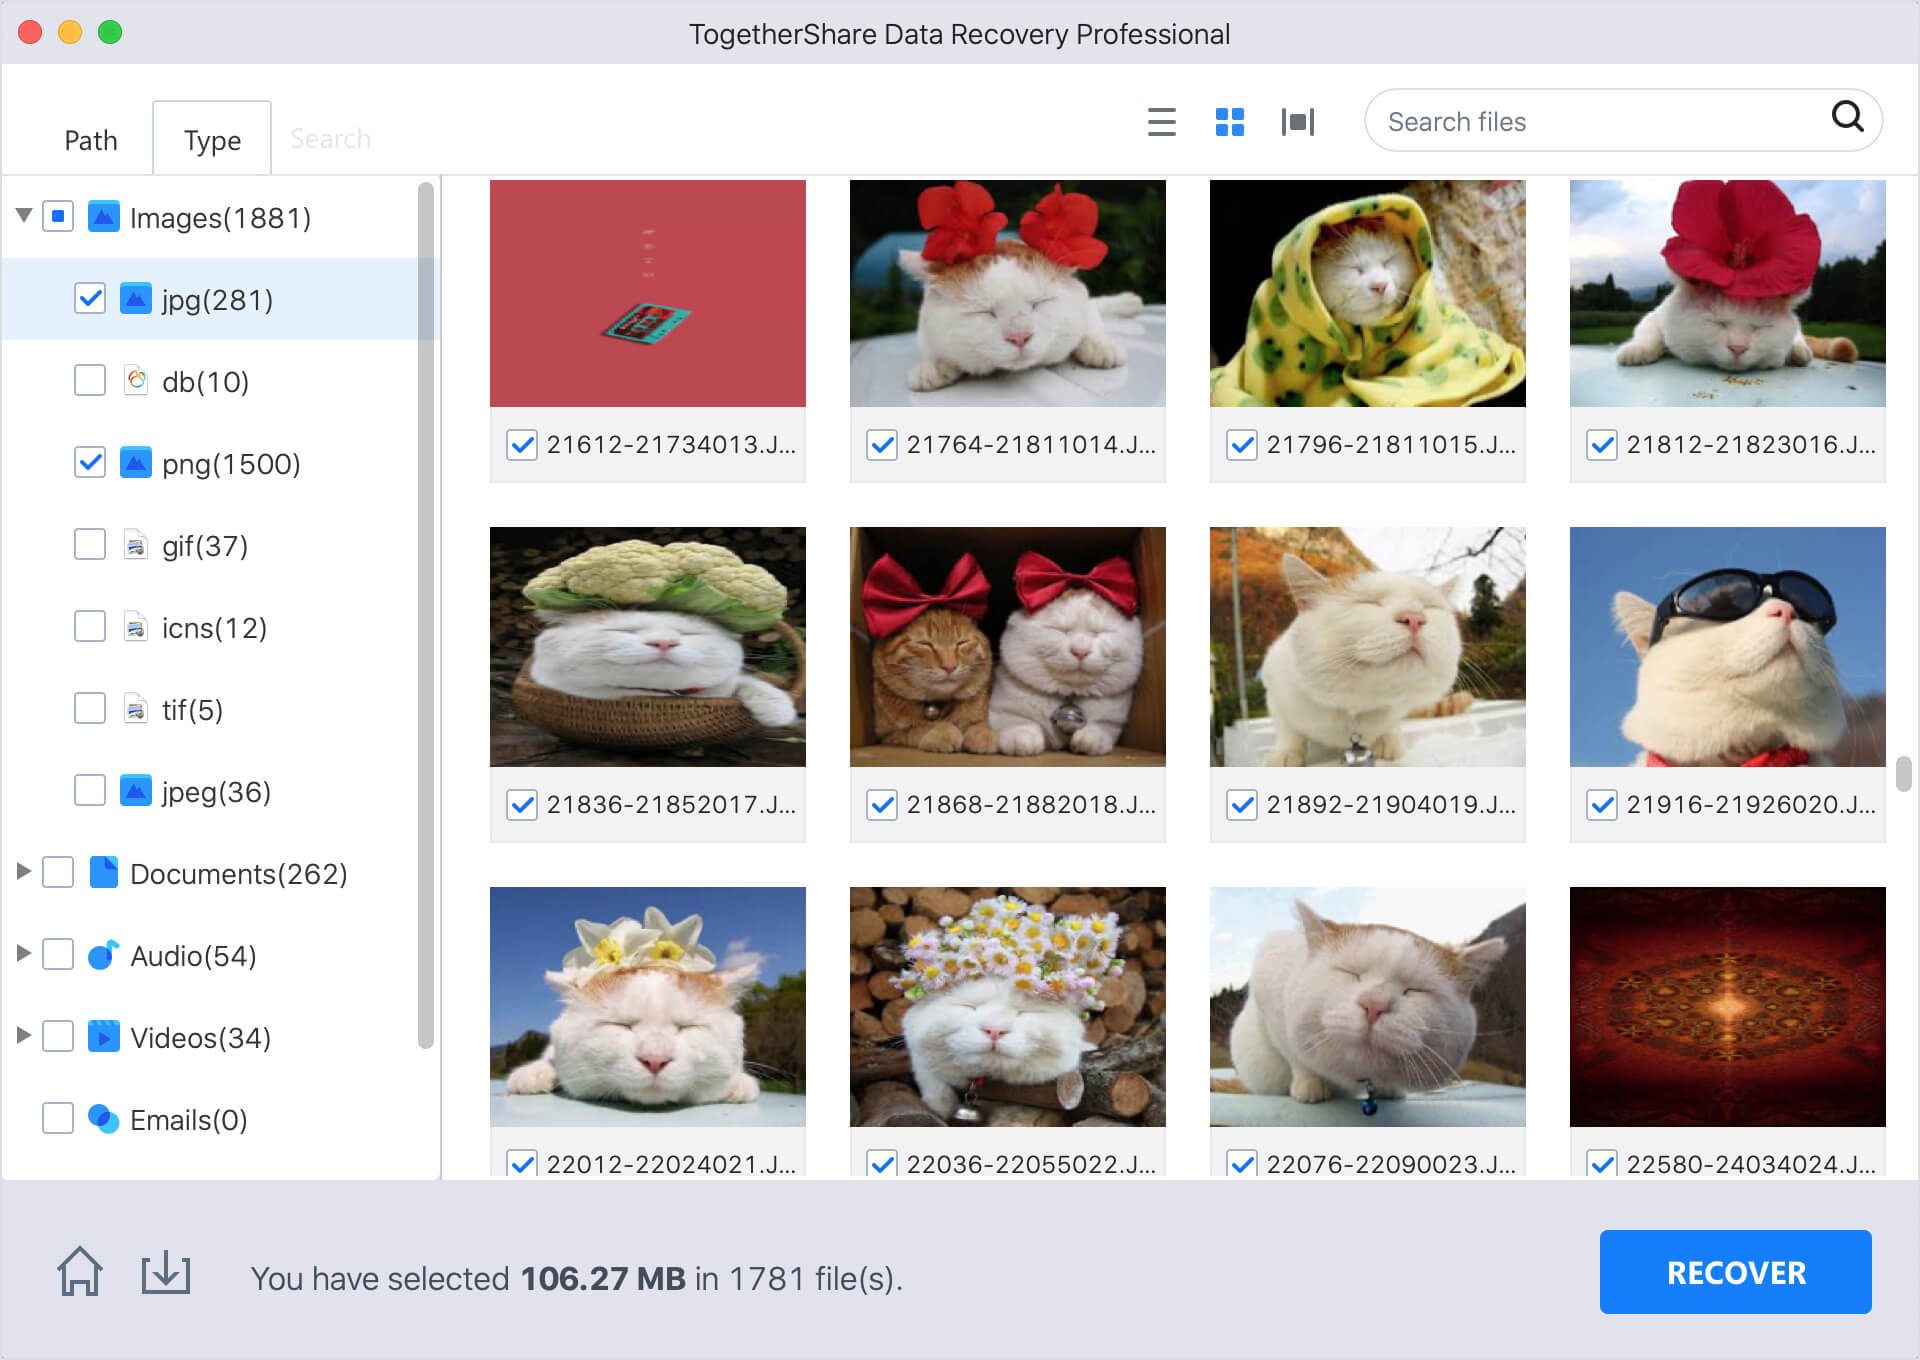
Step 3. Preview and recover the files to another drive.
After scanning, it will show all the found files. Please check and preview the files first to locate the wanted files. Then choose the files/folders to recover.
If you encountered other issues on Mac and lead to data loss, you can also use this software to recover the lost data. For example, if you accidentally deleted some files, formatted a drive, manually unplugged the external drive without ejecting first, updated system and lost data, reset the system, system crashed, or any other issues, you can use this tool to have a try.
TogetherShare Data Recovery for Mac is a comprehensive data recovery software to Mac users. It can not only recover data from the internal drive on Mac, but also it can recover lost files from external drive, USB flash drive, memory card, RAID, SSD, and more devices connected to the Mac. Feel free to download the software and rescue your lost data immediately when data loss happen.
TogetherShare Data Recovery for Mac
Powerful & easy-to-use data recovery software